We bought yet another printer - an Anycubic Chiron this time
Because there's no such thing as too many printers
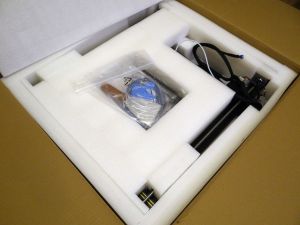 One of our printers broke down during the Christmas Holidays. Although we'd ordered spare parts for it we realized that our printers starts to be getting old and maybe it's time to look for a new one to keep printing.
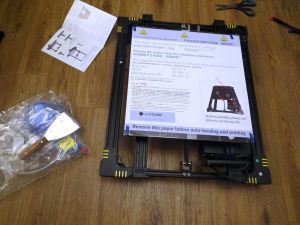 We wanted something different from our current printers, but still something similar. We decided to have a larger printer this time. And after some research we came up with the Anycubic Chiron printer which has an impressive print volume (400x400x450mm) yet reasonably priced.
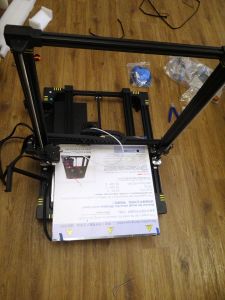 While the printer was not assembled when it arrived there were only two main parts which had to be connected. This printer was the easiest to assemble we had so far (apart from the SLA printer which came fully assembled).
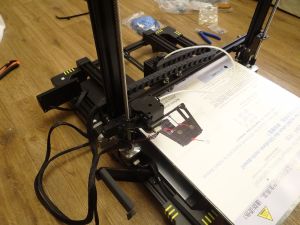 The only real thing we had to do with the printer is calibrate the bed level before we could use the printer. It was relatively easy and actually quite similar to the way our other printers has to be leveled. The only difference is that it has some extra automatic way to adjust the level during printing and we had to calibrate that as well.
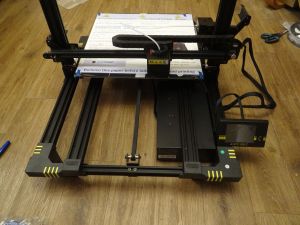 The printer looks pretty neat fully assembled - much fewer cables running everywhere than with our old printers. And it's huge - way bigger than we expected. Sure, we read the size before we ordered, but it's entirely different to read the number and actually see it yourself.
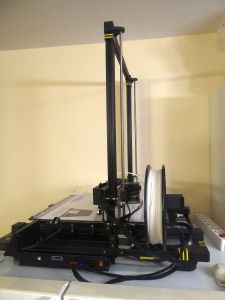 And even though this is our fourth printer to assemble and it had a pretty good setup manual we still made a mistake at first. On this picture it is visible that we put the filamentThis is the plastic which is used as a source for the printRead more holder up the wrong way. We made the first print this way, but replaced it the right way after we realized our error.
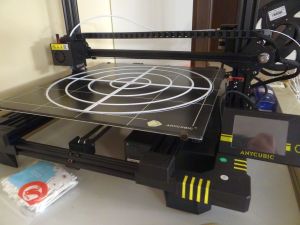 The first print was a simple leveling test and as it can be seen it turned out pretty well.
Useful links
- Thingiverse
Collection of printable things - YouMagine
Share your imagination - Reprap
The first general-purpose self-replicating manufacturing machine - Is it printable?
How to tell if a 3D model is printable - Find us on Facebook
Our Facebook page - Find us on Google+
Our Google+ page