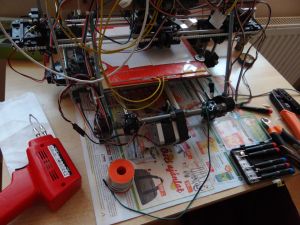
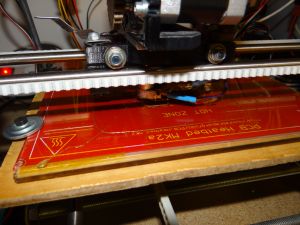
Finally printing on heated bed!
After weeks of waiting and building our heated bed is ready
 We had several assembly sessions in the last few weeks to set up the heated bed. The first step was to put the heated bed and a glass plate on the bed, but without the electric circuit set. This way we had a few test print to make sure everything works fine. It seems the increased weight doesn't affect the movement of the bed, so we could move to the next step.
The second step was to make electric connection between the main board and the heated bed. We used a relay to achieve this just like we did with the hotend. This way the huge current needed by the heated bed doesn't go through the main board which will extend the life of the main board. At least that's what we hope. To support the increased power demand we had to replace the old power supply to a bigger one. We chose a normal, but a bigger than average PC power unit, because that is relatively cheap and easy to buy.
 The kapton tape hadn't arrived when we finished with all of the above steps, so we tried to print the old way, with the heated bed and the double sided tape. It turned out the extra heat doesn't help to the double sided tape, so after a few test we decided to not use the heated bed till the kapton tape would arrive.
And finally, it arrived this week. It is much thinner than the previously used double sided tape, so we had to recalibrate the printer. And it turned out it is completely transparent in one layer, so it wasn't easy to put it on the similarly transparent glass plate, but we succeeded. And it turned out everything they wrote about the kapton tape is true: the first layer sticks to it beautifully. We started to print on it and we will be back with the results soon.
Useful links
- Thingiverse
Collection of printable things - YouMagine
Share your imagination - Reprap
The first general-purpose self-replicating manufacturing machine - Is it printable?
How to tell if a 3D model is printable - Find us on Facebook
Our Facebook page - Find us on Google+
Our Google+ page