The gilding process
A little bit more detail about how the gilding works
 Let's talk about how to do the gilding in a bit more detail.
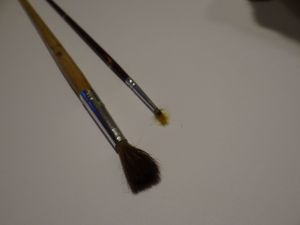
First of all, let's see what kind of tools you will need to make proper gilding. Not too many, actually. Just three paint brushes, a mid size to spread the glue, a big one to apply the leaf and a small one to make the leaves follow the small details of the item. All of them can be used - no need for good quality ones.
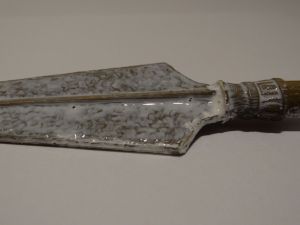 And now about the materials: you will need metallic leaves to cover your item. We are covering plastic objects, so buying gold or silver would be too expensive compared to the object, so we buy imitated ones from Ebay. Of course the process is the same if you use real gold or silver leaves. The other material is as important as the leaves: the glue. It's a special glue, which you can also buy on Ebay.
The first step is to cover the area with the glue which you want to cover with the leaves. The layer has to be even and thin and cover the surface without gaps.
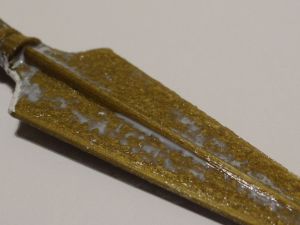 Then you have to wait till the adhesive is half dried. It turns completely transparent when it's ready - so the picture on the left is not yet ready, because there are visible white spots. It was about half an hour for us, but can be different for you, depending on the temperature and humidity.
It is very important to learn when the adhesive is perfect - try it on something else first, because it's almost sure it won't be perfect the first try. Maybe not even on the second try.
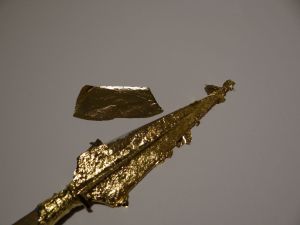 Now carefully cover the sticky surface with the leaves. The leaves can overlap each other. Use the big brush to stick it to the surface, then the small one to make sure it follows the curves of the item. Use the brush to remove the unecessary and not sticking parts of the leaves. This is the critical point - you have to be patient, clever and need a light hand. Practice makes perfect, so don't be sad if the first one is not the best. You can even try to cover the missed spots in a second layer - it cannot be seen on the finished product, so don't be shy and do it.
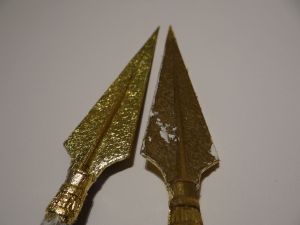 After the adhesive dried completely you have to cover the gilded surface with varnish, otherwise the surface is very fragile. It is a good practice to wait at least 48 hours before you put the varnish on.
The imitated gold leaves are made of copper, which is sensitive to water, so don't use acrylic varnish to finish your item, because it will cause heavy corrosion (unless you want that look - it looks a bit like aged gold). We use nail polish as a varnish which works pretty well on imitated gold, silver and copper leaves.
Useful links
- Thingiverse
Collection of printable things - YouMagine
Share your imagination - Reprap
The first general-purpose self-replicating manufacturing machine - Is it printable?
How to tell if a 3D model is printable - Find us on Facebook
Our Facebook page - Find us on Google+
Our Google+ page