Replacing the old pusher
It was time
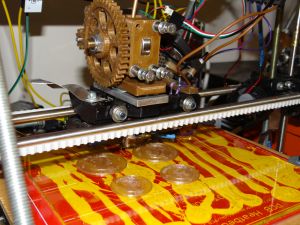
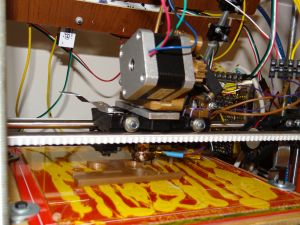
 Our original pusher was molded by a soft plastic and during the last year and a half it started to be pretty worn. We quickly printed a new one - and because everyone suggested a newer model we printed an accessible Wade's Extruder. It turned out pretty well printed with 80% infill, so we were pretty confident everything will be fine.
 After a few try and fail it was pretty evident something is not right. When we assembled the new pusher we realized the orientation of the new pusher is the opposite of the old one: if we put the gears on the same side the motor would be on the rear side instead of the front side as it was with the old pusher. We didn't think it was important, but as it turned out it was. With the motor on the rear side the front of the carrige lifted up during the printing, making the layers uneven and in the end the head picked up the first layers almost all the time. So, we had to rotate the whole thing - now the motor is on the front side, but the gears ended up on the right side, where the cooler of the barrel is. As it turned out the cooling efficiency has been dropped just enough by this change that the filamentThis is the plastic which is used as a source for the printRead more stuck in the barrel several times. After we put a bigger fan there and use 100% fan speed all the time this problem seems to be solved too.
But this is not the end of the story: it turned out the new, theoretically better pusher is not better at all. It is harder to thread the filamentThis is the plastic which is used as a source for the printRead more into the pusher and it happened that the filamentThis is the plastic which is used as a source for the printRead more jumped out of the teeth of the hobbed bar. So we decided to print a new one of the old style pusher and replace it again soon.
Useful links
- Thingiverse
Collection of printable things - YouMagine
Share your imagination - Reprap
The first general-purpose self-replicating manufacturing machine - Is it printable?
How to tell if a 3D model is printable - Find us on Facebook
Our Facebook page - Find us on Google+
Our Google+ page